| Using Simulink | |
Building a Simple Model
This example shows you how to build a model using many of the model-building commands and actions you will use to build your own models. The instructions for building this model in this section are brief. All the tasks are described in more detail in the next chapter.
The model integrates a sine wave and displays the result along with the sine wave. The block diagram of the model looks like this.
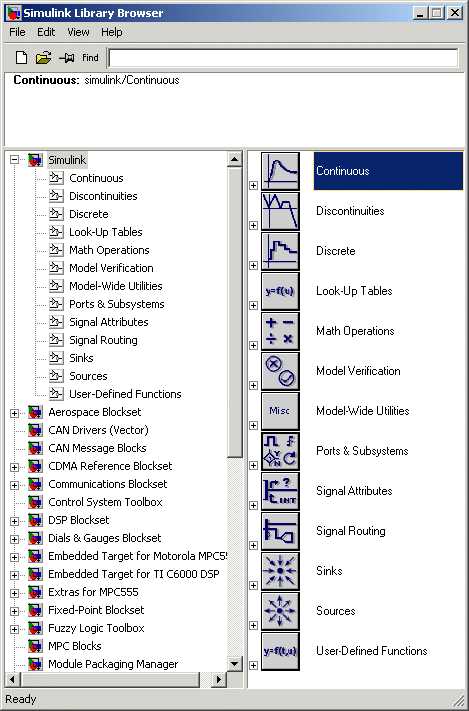
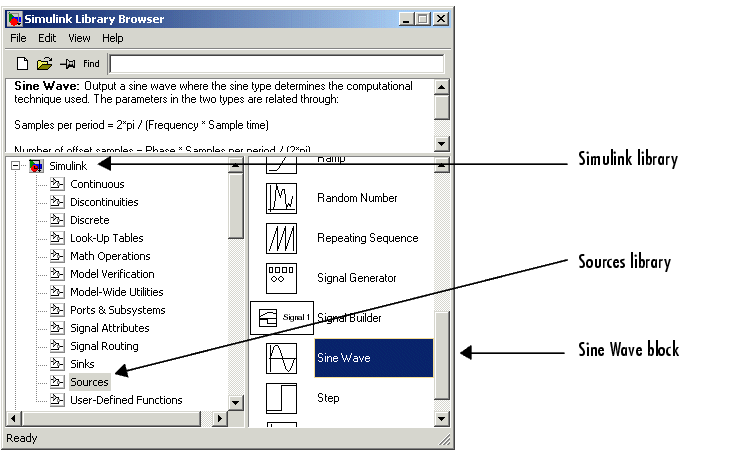
To create the model, first enter simulink in the MATLAB command window. On Microsoft Windows, the Simulink Library Browser appears.
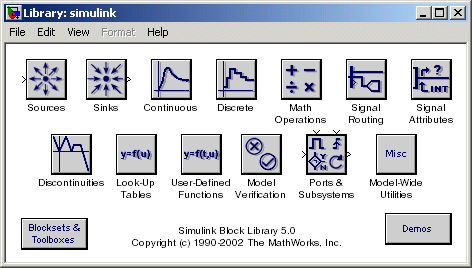
On UNIX, the Simulink library window appears.
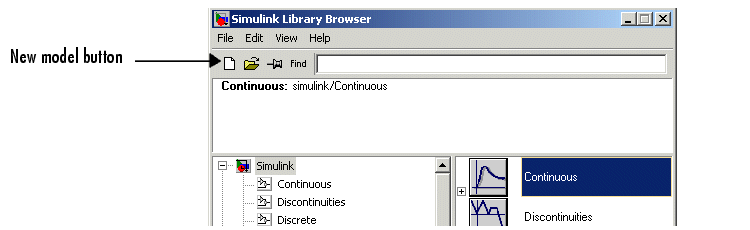
To create a new model on UNIX, select Model from the New submenu of the Simulink library window's File menu. To create a new model on Windows, select the New Model button on the Library Browser's toolbar.
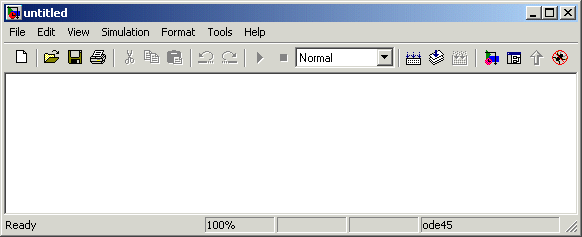
Simulink opens a new model window.
To create this model, you need to copy blocks into the model from the following Simulink block libraries:
You can copy a Sine Wave block from the Sources library, using the Library Browser (Windows only) or the Sources library window (UNIX or Windows).
To copy the Sine Wave block from the Library Browser, first expand the Library Browser tree to display the blocks in the Sources library. Do this by clicking the Sources node to display the Sources library blocks. Finally, click the Sine Wave node to select the Sine Wave block.
Here is how the Library Browser should look after you have done this.
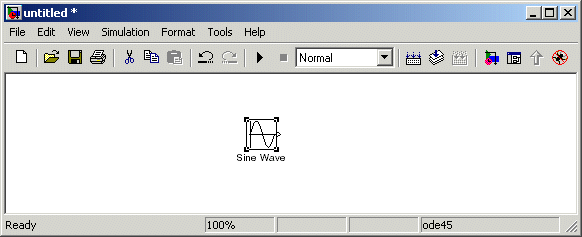
Now drag the Sine Wave block from the browser and drop it in the model window. Simulink creates a copy of the Sine Wave block at the point where you dropped the node icon.
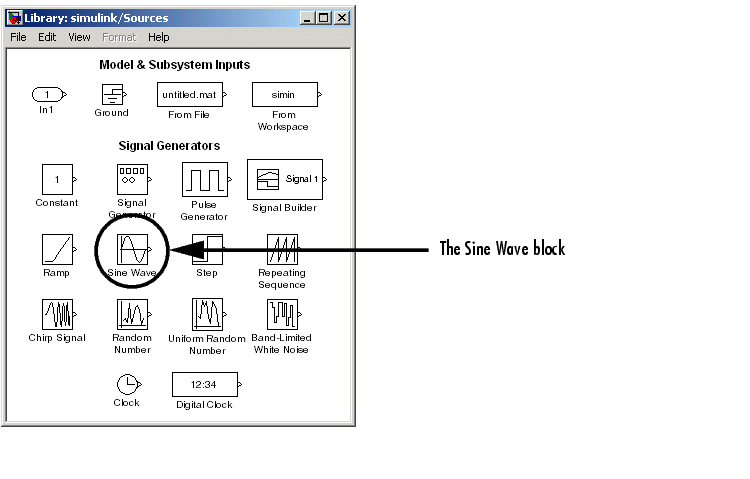
To copy the Sine Wave block from the Sources library window, open the Sources window by double-clicking the Sources icon in the Simulink library window. (On Windows, you can open the Simulink library window by right-clicking the Simulink node in the Library Browser and then clicking the resulting Open Library button.)
Simulink displays the Sources library window.
Now drag the Sine Wave block from the Sources window to your model window.
Copy the rest of the blocks in a similar manner from their respective libraries into the model window. You can move a block from one place in the model window to another by dragging the block. You can move a block a short distance by selecting the block, then pressing the arrow keys.
With all the blocks copied into the model window, the model should look something like this.
If you examine the block icons, you see an angle bracket on the right of the Sine Wave block and two on the left of the Mux block. The > symbol pointing out of a block is an output port; if the symbol points to a block, it is an input port. A signal travels out of an output port and into an input port of another block through a connecting line. When the blocks are connected, the port symbols disappear.
Now it's time to connect the blocks. Connect the Sine Wave block to the top input port of the Mux block. Position the pointer over the output port on the right side of the Sine Wave block. Notice that the cursor shape changes to crosshairs.
Hold down the mouse button and move the cursor to the top input port of the Mux block.
Notice that the line is dashed while the mouse button is down and that the cursor shape changes to double-lined crosshairs as it approaches the Mux block.
Now release the mouse button. The blocks are connected. You can also connect the line to the block by releasing the mouse button while the pointer is inside the icon. If you do, the line is connected to the input port closest to the cursor's position.
If you look again at the model at the beginning of this section (see Building a Simple Model), you'll notice that most of the lines connect output ports of blocks to input ports of other blocks. However, one line connects a line to the input port of another block. This line, called a branch line, connects the Sine Wave output to the Integrator block, and carries the same signal that passes from the Sine Wave block to the Mux block.
Drawing a branch line is slightly different from drawing the line you just drew. To weld a connection to an existing line, follow these steps:
Finish making block connections. When you're done, your model should look something like this.
Now, open the Scope block to view the simulation output. Keeping the Scope window open, set up Simulink to run the simulation for 10 seconds. First, set the simulation parameters by choosing Simulation Parameters from the Simulation menu.
On the dialog box that appears, notice that the Stop time is set to 10.0 (its default value).
Close the Simulation Parameters dialog box by clicking the OK button. Simulink applies the parameters and closes the dialog box.
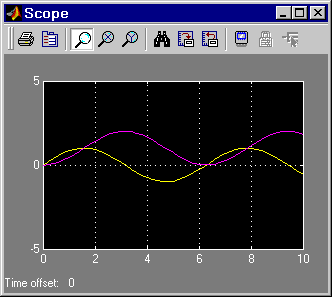
Choose Start from the Simulation menu and watch the traces of the Scope block's input.
The simulation stops when it reaches the stop time specified in the Simulation Parameters dialog box or when you choose Stop from the Simulation menu or click the Stop button on the model window's toolbar (Windows only).
To save this model, choose Save from the File menu and enter a filename and location. That file contains the description of the model.
To terminate Simulink and MATLAB, choose Exit MATLAB (on a Microsoft Windows system) or Quit MATLAB (on a UNIX system). You can also enter quit in the MATLAB command window. If you want to leave Simulink but not terminate MATLAB, just close all Simulink windows.
This exercise shows you how to perform some commonly used model-building tasks. These and other tasks are described in more detail in Creating a Model.
| | Other Useful Demos | Setting Simulink Preferences | |