| Using Simulink | |
Manually Connecting Blocks
Simulink allows you to draw lines manually between blocks or between lines and blocks. You might want to do this if you need to control the path of the line or to create a branch line.
Drawing a Line Between Blocks
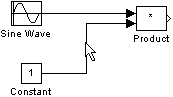
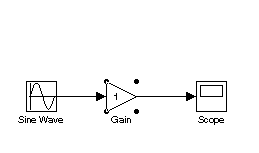
To connect the output port of one block to the input port of another block:
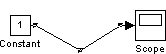
Simulink draws connecting lines using horizontal and vertical line segments. To draw a diagonal line, hold down the Shift key while drawing the line.
Drawing a Branch Line
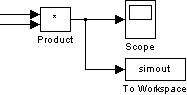
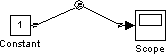
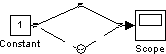
A branch line is a line that starts from an existing line and carries its signal to the input port of a block. Both the existing line and the branch line carry the same signal. Using branch lines enables you to cause one signal to be carried to more than one block.
In this example, the output of the Product block goes to both the Scope block and the To Workspace block.
To add a branch line, follow these steps:
You can also use the right mouse button instead of holding down the left mouse button and the Ctrl key.
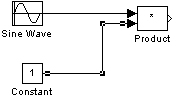
Drawing a Line Segment
You might want to draw a line with segments exactly where you want them instead of where Simulink draws them. Or you might want to draw a line before you copy the block to which the line is connected. You can do either by drawing line segments.
To draw a line segment, you draw a line that ends in an unoccupied area of the diagram. An arrow appears on the unconnected end of the line. To add another line segment, position the cursor over the end of the segment and draw another segment. Simulink draws the segments as horizontal and vertical lines. To draw diagonal line segments, hold down the Shift key while you draw the lines.
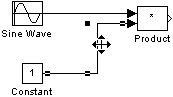
Moving a Line Segment
To move a line segment, follow these steps:
To move the segment connected to an input port, position the pointer over the port and drag the end of the segment to the new location. You cannot move the segment connected to an output port.
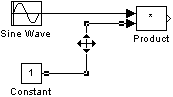
Moving a Line Vertex
To move a vertex of a line, follow these steps:
Inserting Blocks in a Line
You can insert a block in a line by dropping the block on the line. Simulink inserts the block for you at the point where you drop the block. The block that you insert can have only one input and one output.
| | Connecting Blocks | Disconnecting Blocks | |